
LED lights are efficient, clean, and the quality of light can’t be beat, even by ancient incandescents. Incandescent bulbs are down right primitive by comparison – it’s technology straight out of the 1800s, literally.
Changing all of your bulbs to LEDs is pretty straightforward in most cases. It can be as simple as buying a box of LED bulbs from your local superstore or online, and swapping them out. However, sometimes you might have a pesky fluorescent fixture in your house.
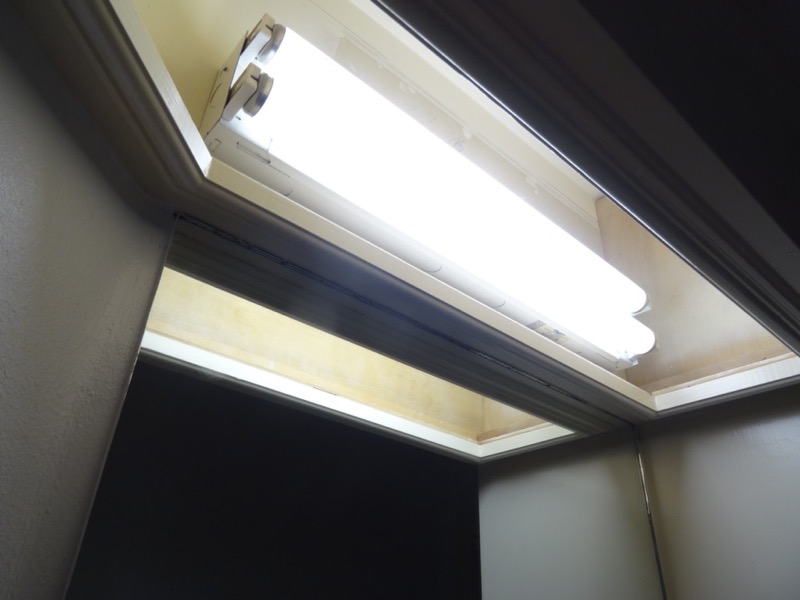
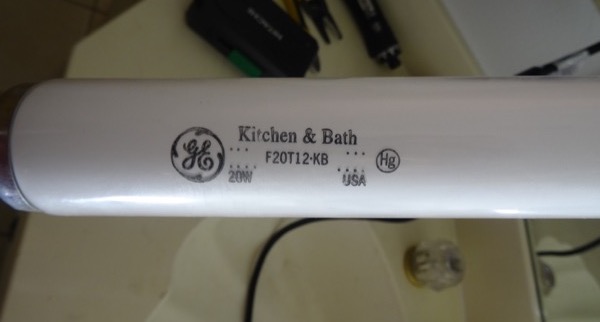
I just moved into a new house not long ago. The place was built in the late 1980s and is loaded with fluorescent fixtures — in the laundry room, in the bathrooms, in the kitchen. They give off that ugly fluorescent light, and make a loud buzz. They had to go!
This post shows how I changed out a small fluorescent fixture in a bathroom for a nice LED one. I also changed a bunch of old flood lights with LEDs. So if you are even modestly handy with tools, you can do this too.
If you have ever changed an outlet, installed a ceiling fan, or done any kind of basic electrical work around the house, then this is for you. However, if you are unsure about this, ask an experienced friend to help, or hire a handyman or an electrician for an hour. Better safe than sorry.
Let’s begin…
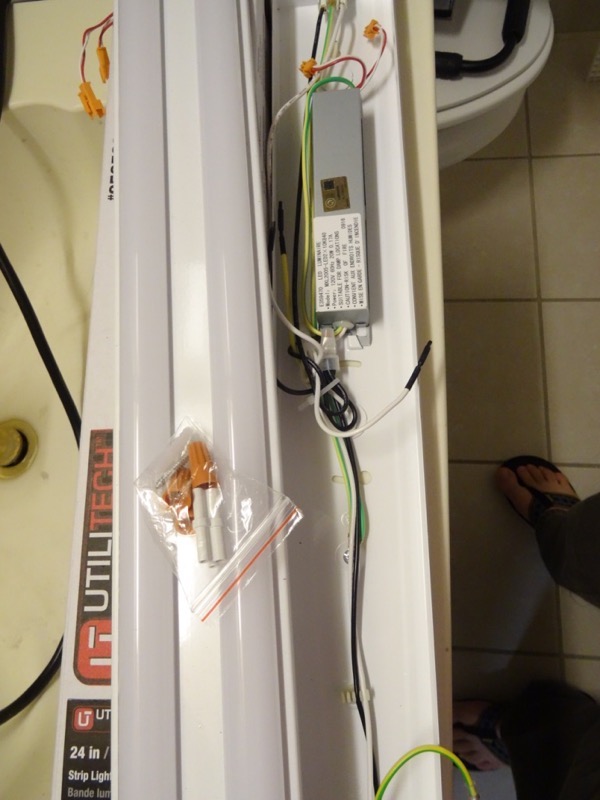
I bought a two foot LED strip light at Lowe’s for about $30. I tried to get one off Amazon, but believe it or not, there were not any great choices. I ordered one and had to send it back because it sucked.
Anyhow, the light I got was a Utilitech 24 Inch Strip Light. It uses 20 watts, which was 20 less than the fluorescent light it was replacing, plus it is supposed to last for 35,000 hours of use. That’s 2.1 million minutes, and considering that this light is on for about 10 minutes a day, this light should last for 210,000 days, or 575 years. (Of course, this house is in Houston which will be well under water by then, but maybe my bulbs will slow that day of reckoning by a tiny bit 🙂 )

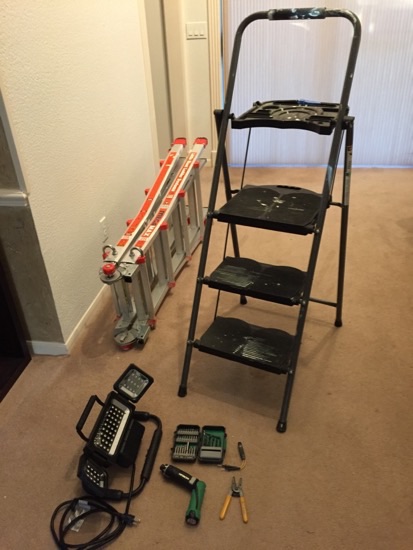
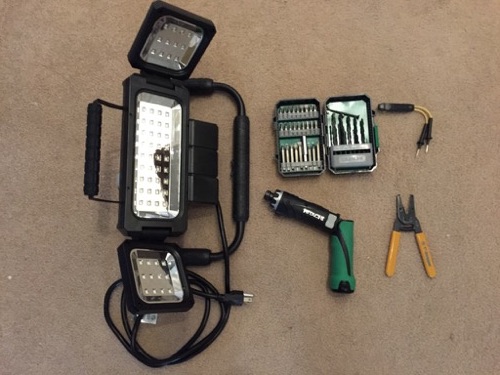
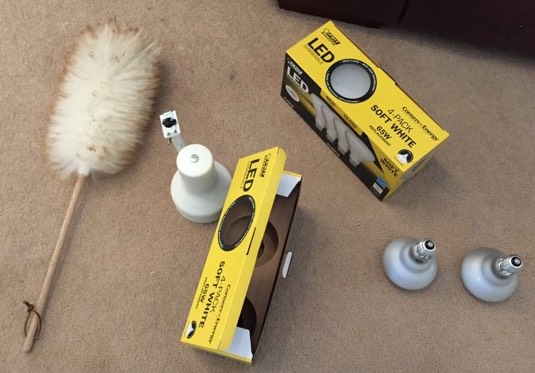
First, I gathered my tools. The tools you need are pretty basic: wire cutter/stripper, circuit tester, battery-powered screwdriver/drill, drill/driver bits. I also used an LED work light and a small step ladder to make life easier.
- T-Stripper Wire Stripper
- General Tools CT101 Line Voltage Tester
- Hitachi DB3DL2 3.6 Volt Lithium Ion Dual-Position Cordless Screwdriver Kit (Lifetime Tool Warranty)
- Hitachi 799962 Drill And Drive Bit Set, 120-Piece
- Best Choice Products Shade 3 Step Ladder Platform Lightweight Folding Stool 330 LBS Cap Space Saving w/Tray
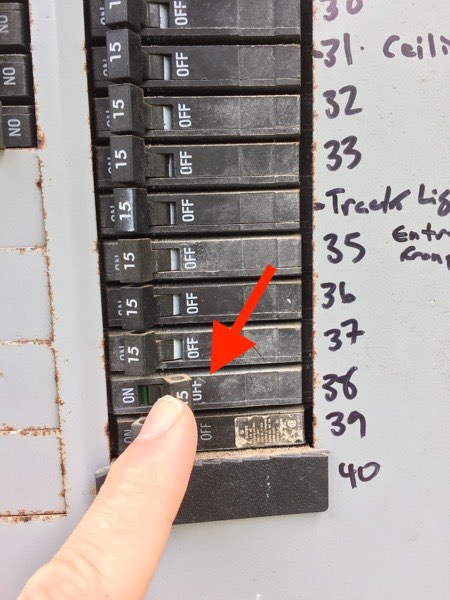
First step, cut the power! Find your breaker box and switch the appropriate circuit to OFF. Breaker boxes are usually found on a wall outside your house, in the garage, or in a closet somewhere. Often the circuit panel is poorly labelled. If you don’t know what circuit goes to what fixture, it’s helpful to have someone yell at you when you have the right one. I guess if you were fancy you could text back and forth or use some walkie talkies, or something.
Go back to the fixture you are working on. The light should be out no matter what position the switch is in. However, be sure to leave it in the off position after you’ve made sure the circuit is dead. Also, you can tape the switch in the off position in case someone walks in on you in the middle of your work, just to be safe.
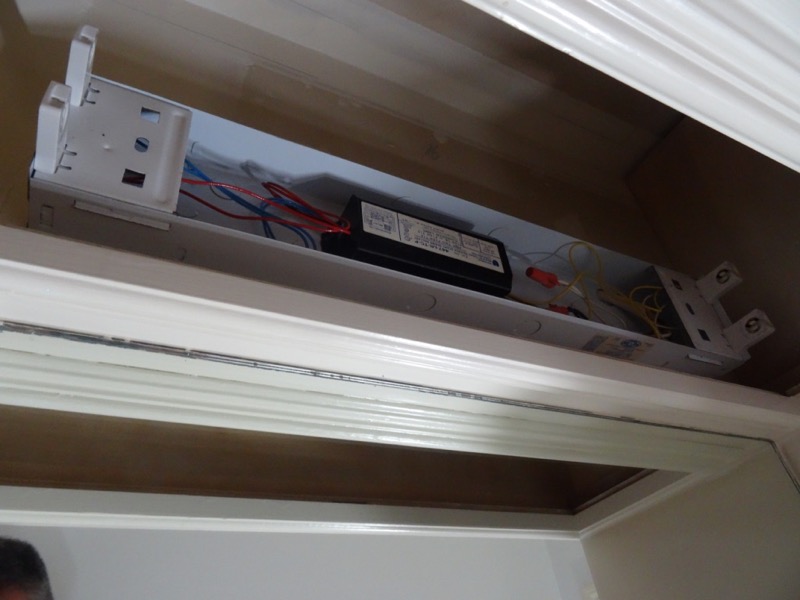

I unscrewed the wire caps and used the tester to make sure the circuit was cold. The point of all this testing to make sure the circuit is cold is for that one day you forget a step and the circuit isn’t cold. Hopefully, you will catch it before it’s a problem!

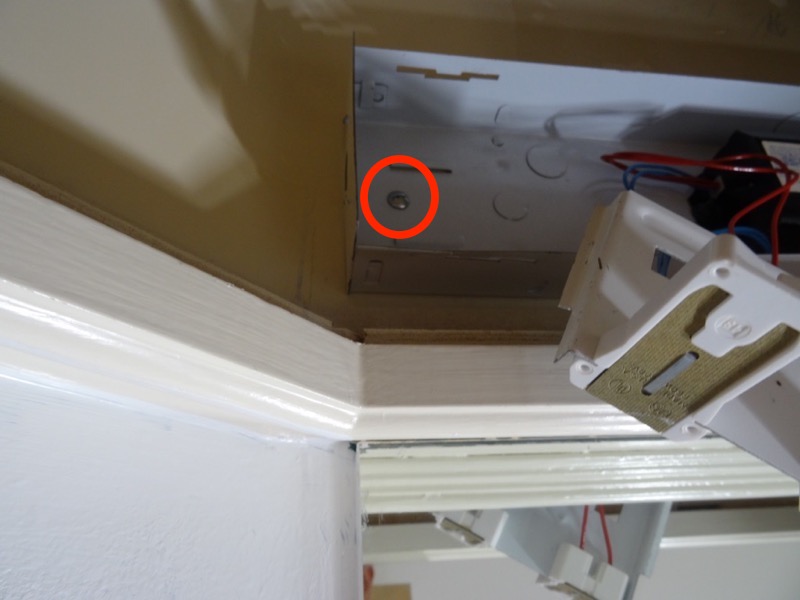
I used the power screwdriver to unscrew the toggle bolts. The back part of the toggle bolt fell inside the wall and the screw pulled out. I guided the wire from the wall through the back of the fixture and pulled it away from the wall. I then went about putting the new anchors in the wall.
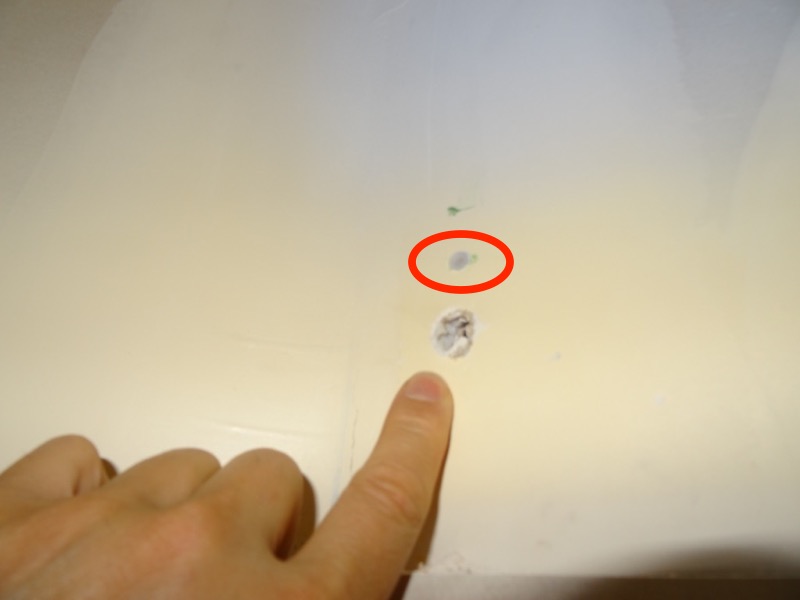
I put the new fixture in the position I wanted it and marked the mounting holes with a pencil. The mounting holes are key hole shaped, so you can put the screws in the wall part way and slot the fixture over the screws before tightening them down. When you tighten the screws don’t over do it, otherwise they will start spinning in the wall and weaken the mount.
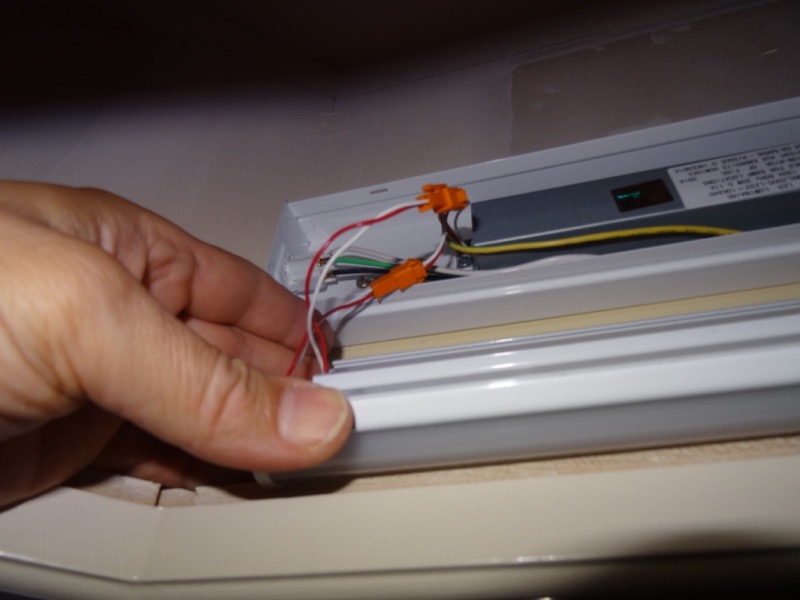
Next it the ends of the wires are not straight, cut the ends off. Then strip about half an inch of insulation off of the wire. Put the corresponding wires together and tightly twist one of the orange end caps on to the two wires to join them together.

Now turn the power back on at the breaker and flip the light switch. Hopefully everything will light up with no issue. If it doesn’t (I’ve had that happen before), go back and turn the breaker off, and recheck all your wiring.
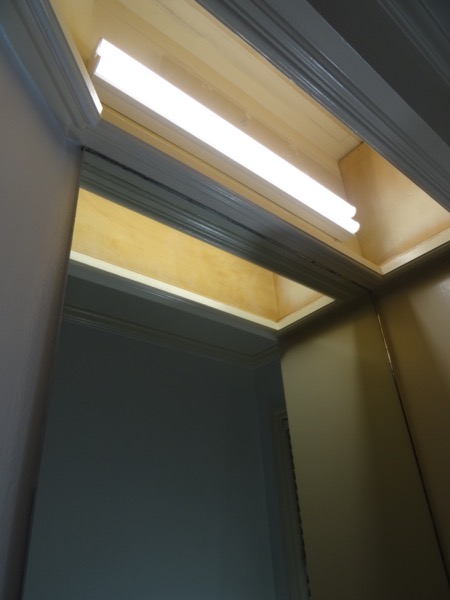
This whole job took about an hour. It probably would have gone a lot faster if I wasn’t contorting myself to reach up into the light box. It might take you more or less time depending on your experience. The key is just to proceed safely and methodically. One down, two bathrooms and a kitchen to go!
Replacing old incandescent bulbs is much easier
Just screw them out and screw in the new ones. The only challenge might be for folks with high ceiling. I have a set of two track lights with 3 spotlight fixtures in each. Time to get the big ladder out.
I bought two boxes of Feit BR30 LED flood lights for about $12 a box. They are supposed to last for 25,000 hours, so this will likely be the last time I have to change these bulbs.


Before I had 6 – 60 watt incandescent bulbs using 360 watts of power for 3,600 lumens of light. Now I have 6 – 10 watt LED bulbs using 60 watts of power total and giving me 4,500 lumens of light. I’m also going to install a dimmer to have total control over the lighting.
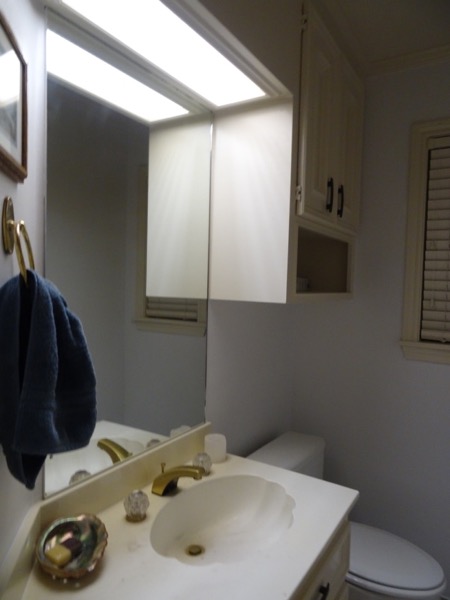
In the bathroom I had a noisy, flickering fluorescent fixture; now I have a quiet LED light that comes on instantly and uses half the power. ALSO, I likely won’t have to ever change the fixture or the flood lights again. What’s not to like?
The point of all this was to show you that even for a couple of the more difficult cases, it’s still not that hard to switch to LED lights. In fact, most of your lights are probably within easy reach. You can reduce the amount of energy you use, the amount of carbon dioxide you make, the number of times you have to change bulbs again (probably never!), and have much better lighting. That’s a win on many levels! So what are you waiting for??
Read more about LED lighting from past blog posts…
- The shocking truth about LED lights
- How to Save a LOT of Money While Saving the Environment (Hint: Use LED lights!)